home cleaning
Lesson 3: Kitchen Cleaning – Detailed Steps
The kitchen is often the most-used room in the home and requires special attention to cleanliness. This lesson outlines each task in detail to ensure your kitchen is clean, hygienic, and organized.
HC
HowClean
free Course
3182
Likes
3184
Recommends
3185
Helpfuls

Task 1: Clear Surfaces
Remove All Items from Countertops:
- Place small appliances (toasters, blenders, etc.) temporarily in a corner or another room to clear the space.
- Move containers, utensils, and decorations out of the way for thorough cleaning.
Wash Dirty Dishes:
- Collect all dirty dishes, glasses, and utensils from the sink, countertops, and any other areas of the kitchen.
- Dishwasher: Load dishes into the dishwasher, ensuring they are rinsed if necessary. Start the dishwasher.
- Handwashing: For items that cannot go in the dishwasher, wash with warm, soapy water. Scrub thoroughly, rinse, and dry.
Dry and Store Clean Dishes:
- Use a clean towel to dry dishes or let them air-dry on a drying rack.
- Store dishes, glasses, and utensils in their designated cabinets or drawers to maintain organization.
Task 2: Appliance Cleaning
Microwave:
- Steam Clean: Fill a microwave-safe bowl with water and squeeze in the juice of half a lemon (add the lemon halves for extra effectiveness).
- Heat on high for 3-5 minutes to create steam that loosens grime.
- Wipe the interior with a damp cloth or sponge, paying attention to corners and the turntable.
- Clean the exterior with an all-purpose cleaner and wipe dry.
Oven:
- Interior: Apply oven cleaner or a baking soda paste (mix baking soda and water) to the interior surfaces. Let it sit for 15-30 minutes to loosen baked-on stains.
- Scrub with a sponge or brush and wipe with a damp cloth until clean.
- Exterior: Wipe the oven door and controls with an all-purpose cleaner or damp cloth.
Fridge:
- Discard Expired Items: Remove all items from the fridge, checking expiration dates and discarding anything expired or spoiled.
- Wipe Shelves and Drawers: Take out shelves and drawers if possible. Clean them with warm, soapy water or a mild cleaner. Dry thoroughly before replacing.
- Wipe down the fridge interior with a damp cloth and mild cleaner or a vinegar-water solution.
- Organize food neatly as you return items.
Task 3: Countertops and Sink
Clean Countertops:
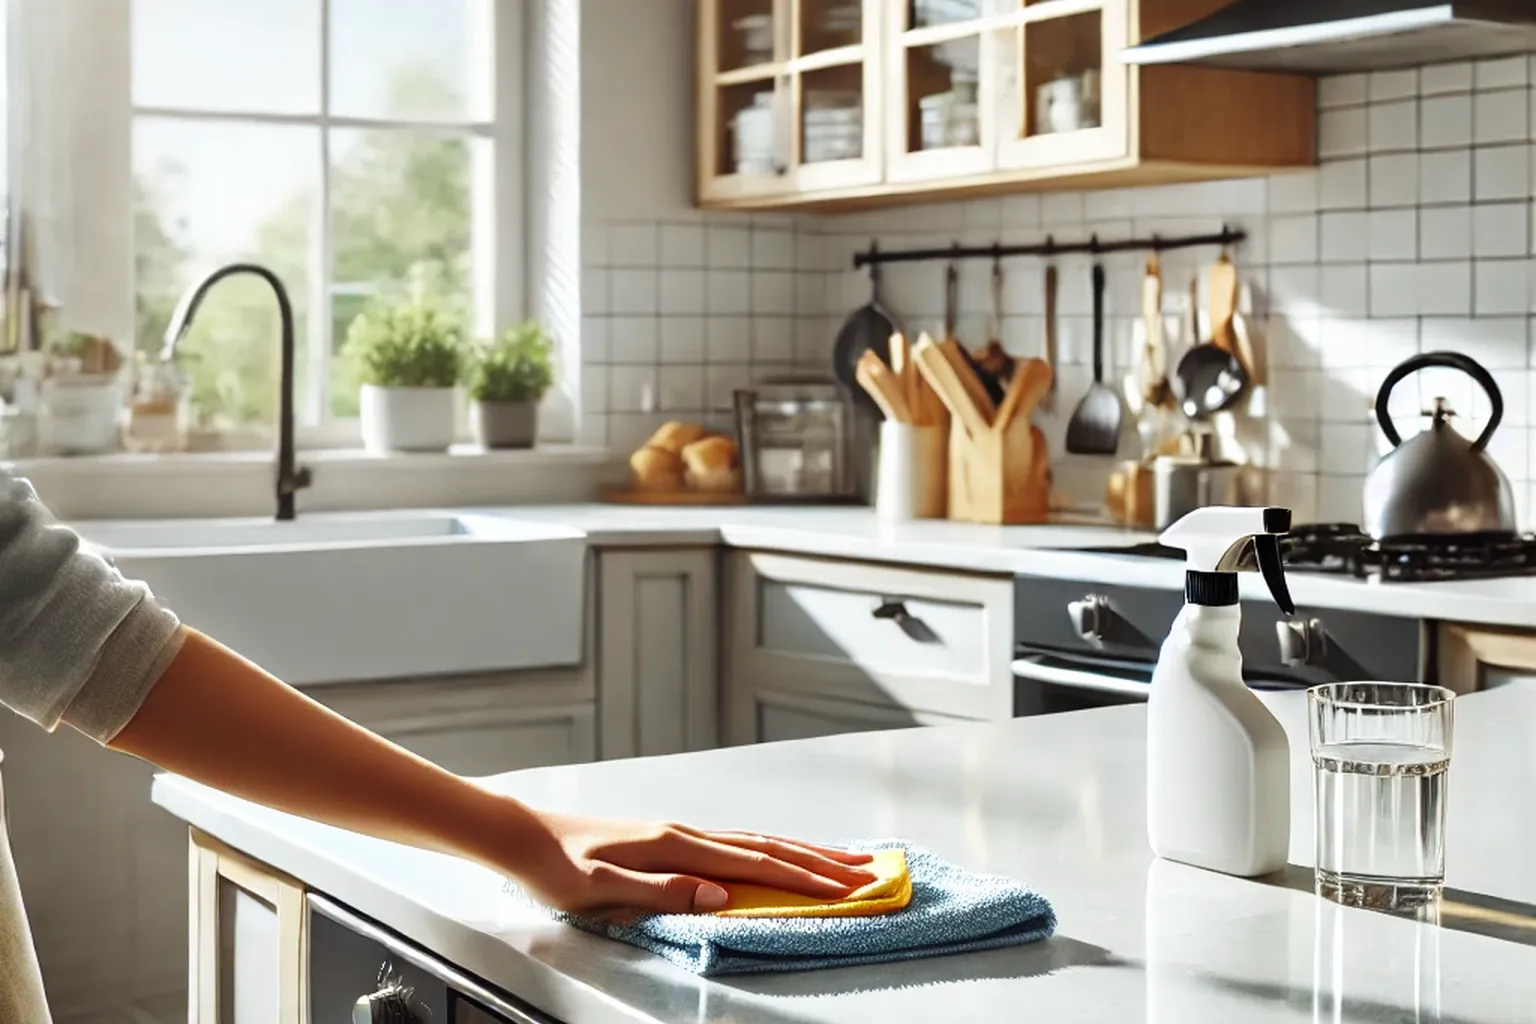
- Spray an all-purpose cleaner across the countertops.
- Use a microfiber cloth or sponge to wipe the entire surface, removing spills, crumbs, and stains.
- Pay attention to corners and behind appliances.
Clean the Sink:
- Rinse the sink with warm water to remove loose debris.
- Sprinkle baking soda over the sink’s surface or use a sink-safe cleaner.
- Scrub the sink using a sponge or brush, focusing on the drain, edges, and faucet base.
- Rinse thoroughly and dry with a clean cloth to prevent water spots.
Task 4: Cabinets and Handles
Cabinet Doors:
- Use a damp cloth or sponge with a small amount of dish soap to clean the cabinet doors.
- For stubborn grease stains, use a degreaser or baking soda paste.
- Dry with a microfiber cloth to avoid streaks.
Handles and Knobs:
- Wipe down all cabinet handles and knobs with an all-purpose cleaner or disinfectant.
- Pay attention to sticky or greasy spots, as these are high-touch areas.
Task 5: Floors
Sweep:
- Start by sweeping the entire kitchen floor with a broom or vacuum to remove crumbs and dirt.
- Pay attention to corners, edges, and under appliances like the stove or fridge.
Mop:
- Prepare a mop bucket with water and a suitable floor cleaner (check the cleaner is compatible with your flooring material—tile, wood, laminate, etc.).
- Mop the floor, starting at the farthest corner and working toward the door to avoid stepping on the wet floor.
- Allow the floor to air-dry or use a dry mop for faster results.
Pro Tip:
- Work top-to-bottom: Clean countertops and appliances before mopping to prevent re-cleaning.
- Use fresh water and clean cloths as you go to avoid spreading dirt.
By following these detailed steps, your kitchen will not only look spotless but also feel fresh and hygienic.
